How do I create an Excel file for import?
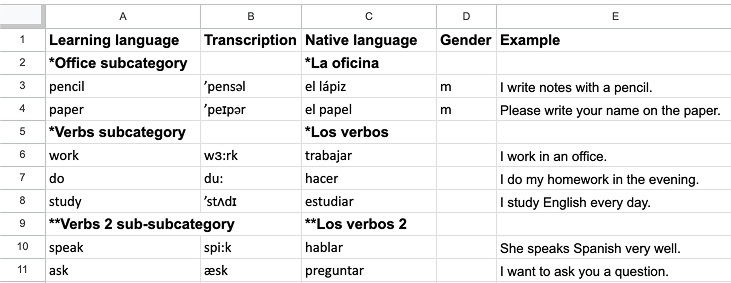
- Create an Excel file where each column represents a word field. The minimum required columns are Native language and Learning language.
You can also add optional columns such as transcription, examples, or gender.
You can create subcategories and sub-subcategories in the Excel file:
– place an asterisk (*) before the subcategory name
– place two asterisks (**) before the sub-subcategory name in the column.
You can download an example file for import lexilize.
2. Save the file in .xlsx or .xls format and copy it to your device.
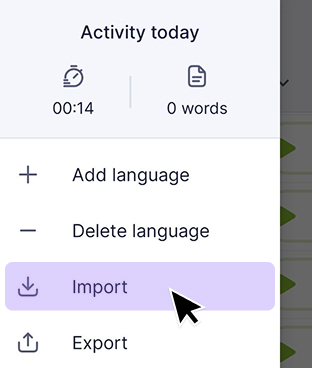
3. Import the file through Menu → Import in the app.
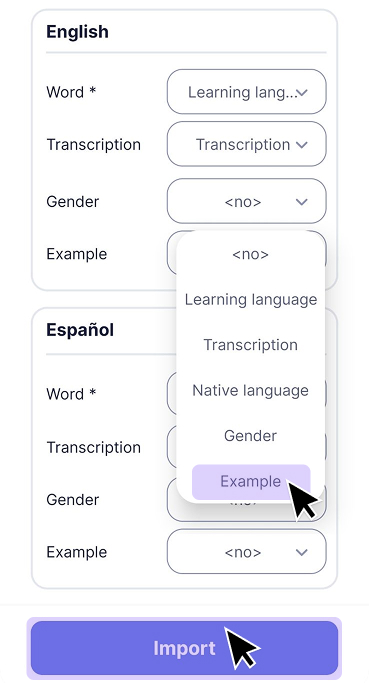
4. During import, use the drop-down menus to match Excel columns to the corresponding word fields.
If the wrong column is selected, the data will be imported into the wrong fields.
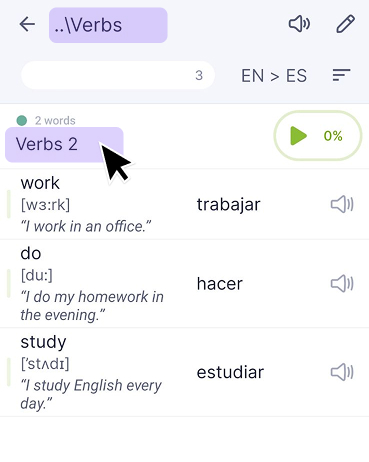
Example of how categories appear in the app after import.
The sub-subcategory **Verbs 2 was placed under the subcategory *Verbs in the Excel file,
so it is imported into the Verbs subcategory in the app.
You may also find these articles helpful: